Welcome stranger to the TL; DR Sunday #2, hope you had an amazing week! I sure did, very busy one. So let’s get to the topic of today.
Few days ago a friend of mine messaged me on Slack, with the words “Do it man!” with a link attached. So as a curious individual, I had to see what was the exciting thing he wanted me to recreate.
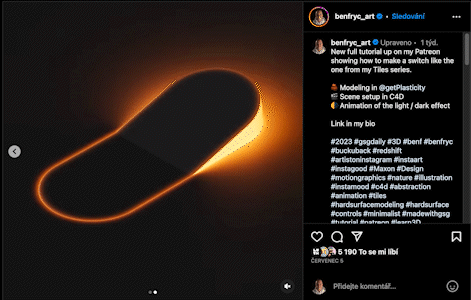
“This is a fairly simple scene” I replied, I can give it a shot, but let’s not copy the scene blindly. It would be for learning purposes, but still, let’s create something of our own.
So, I ended up with this.

I’ll walk you through the process of how I did it, I won’t forget to tell you to animate the hinges, and who knows, in the end, you’ll be able to do it too.
A Full disclaimer, this isn’t a step-by-step tutorial, that would be way too long. Maybe someday.
What you’ll need
Any 3D software of your choice, I used Blender for this one and that’s pretty much it.
First things first
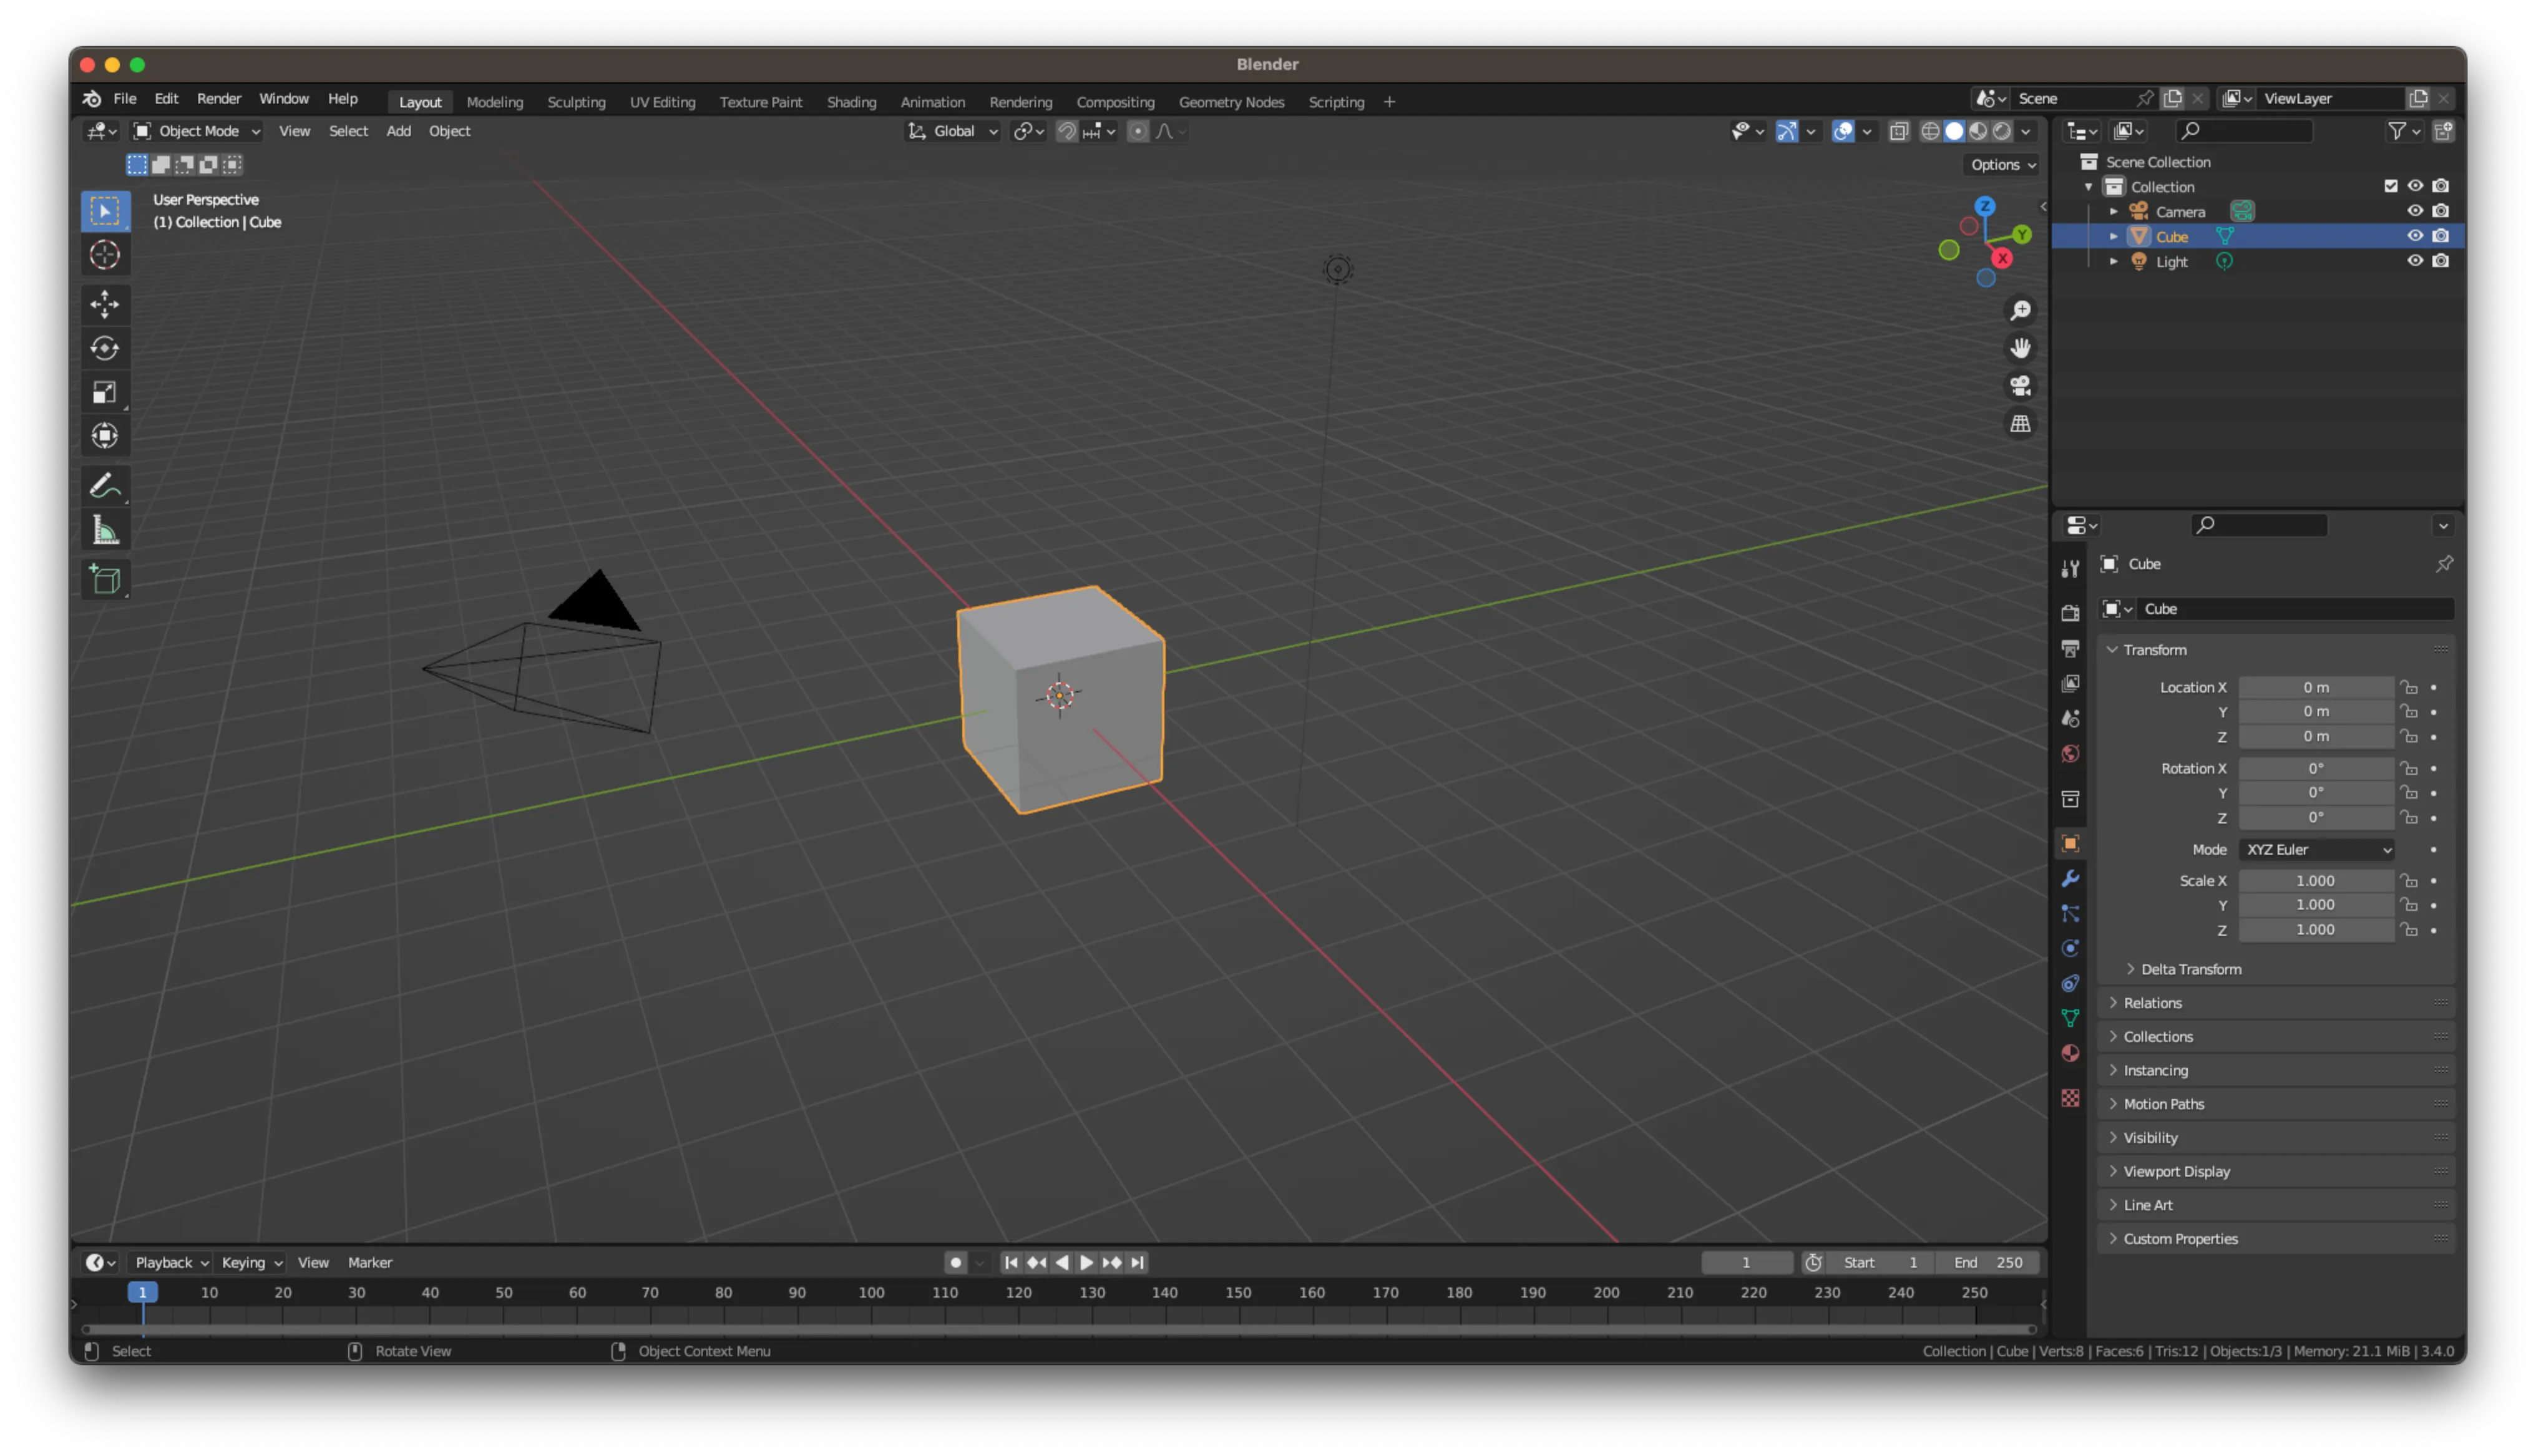
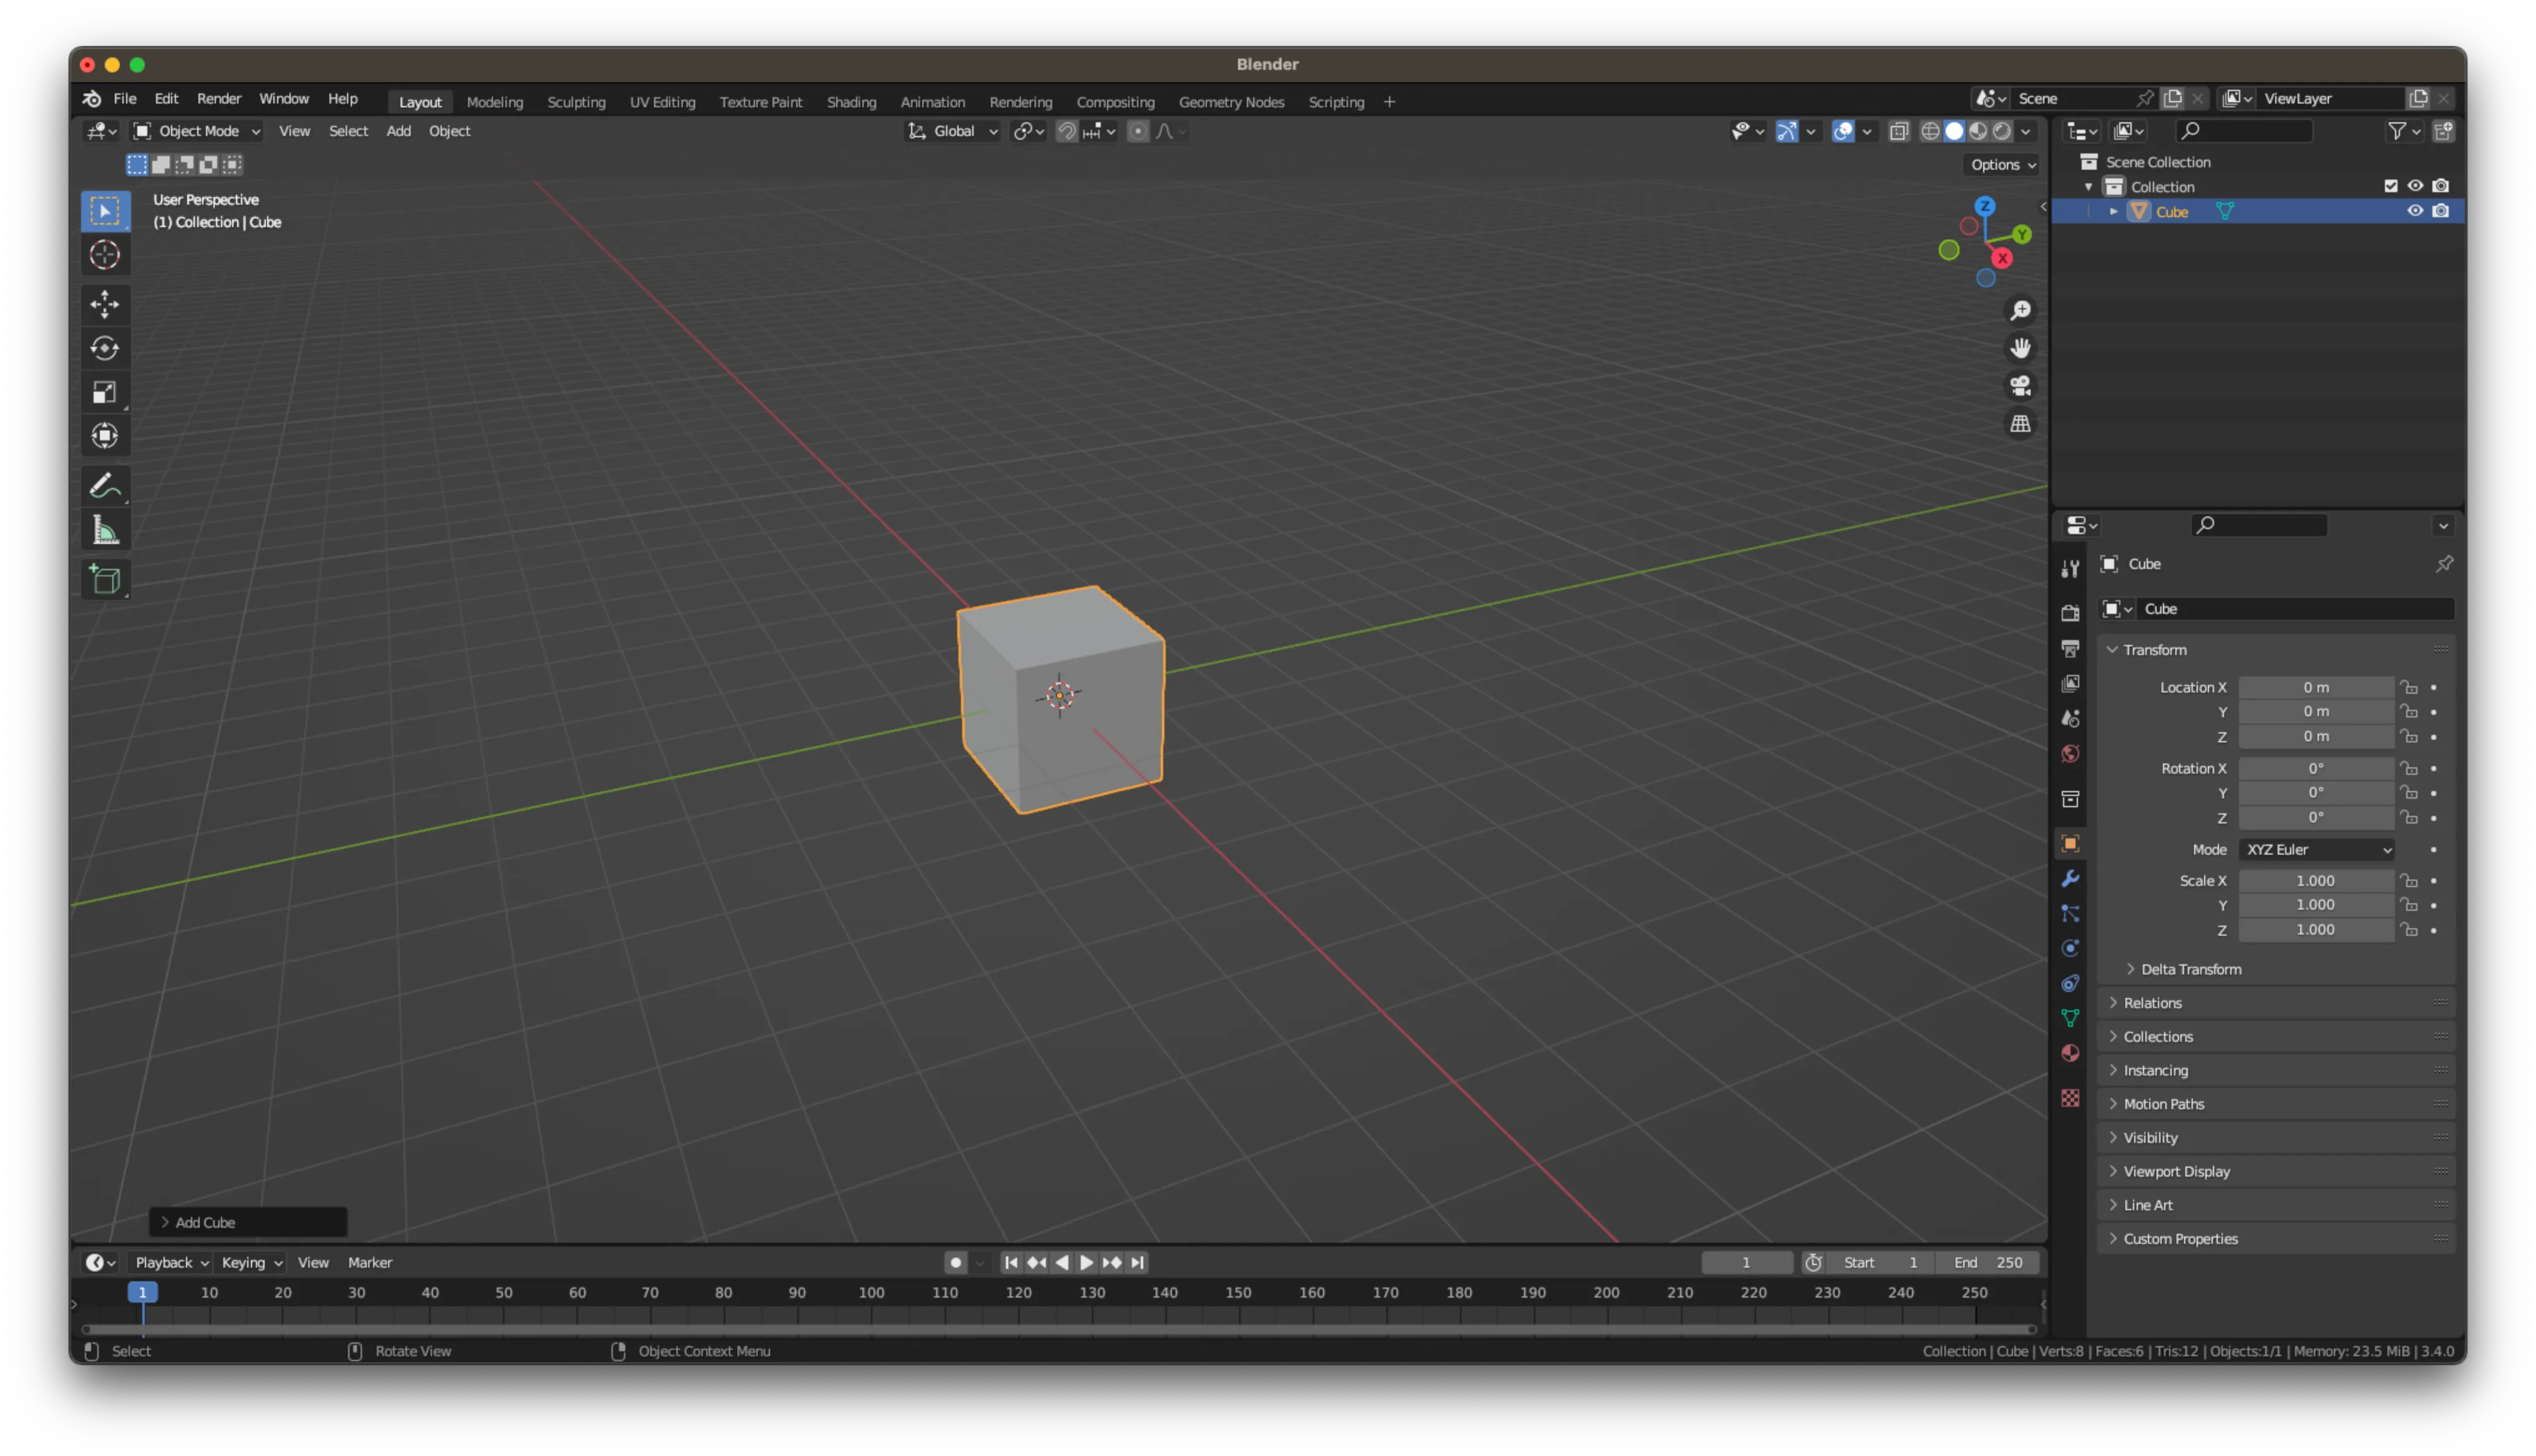
Let’s select all and delete.
After that, we can start with the base model of the gift.
Now let’s Add a cube.
Excellent! We have our base mesh to work with. You might be asking, but Adam, we just deleted the Cube, why add it again?
Any 3D Blender professional knows, that you have to delete the default cube every time, even if you’re going to work with a cube duh. Otherwise, bad things might happen!
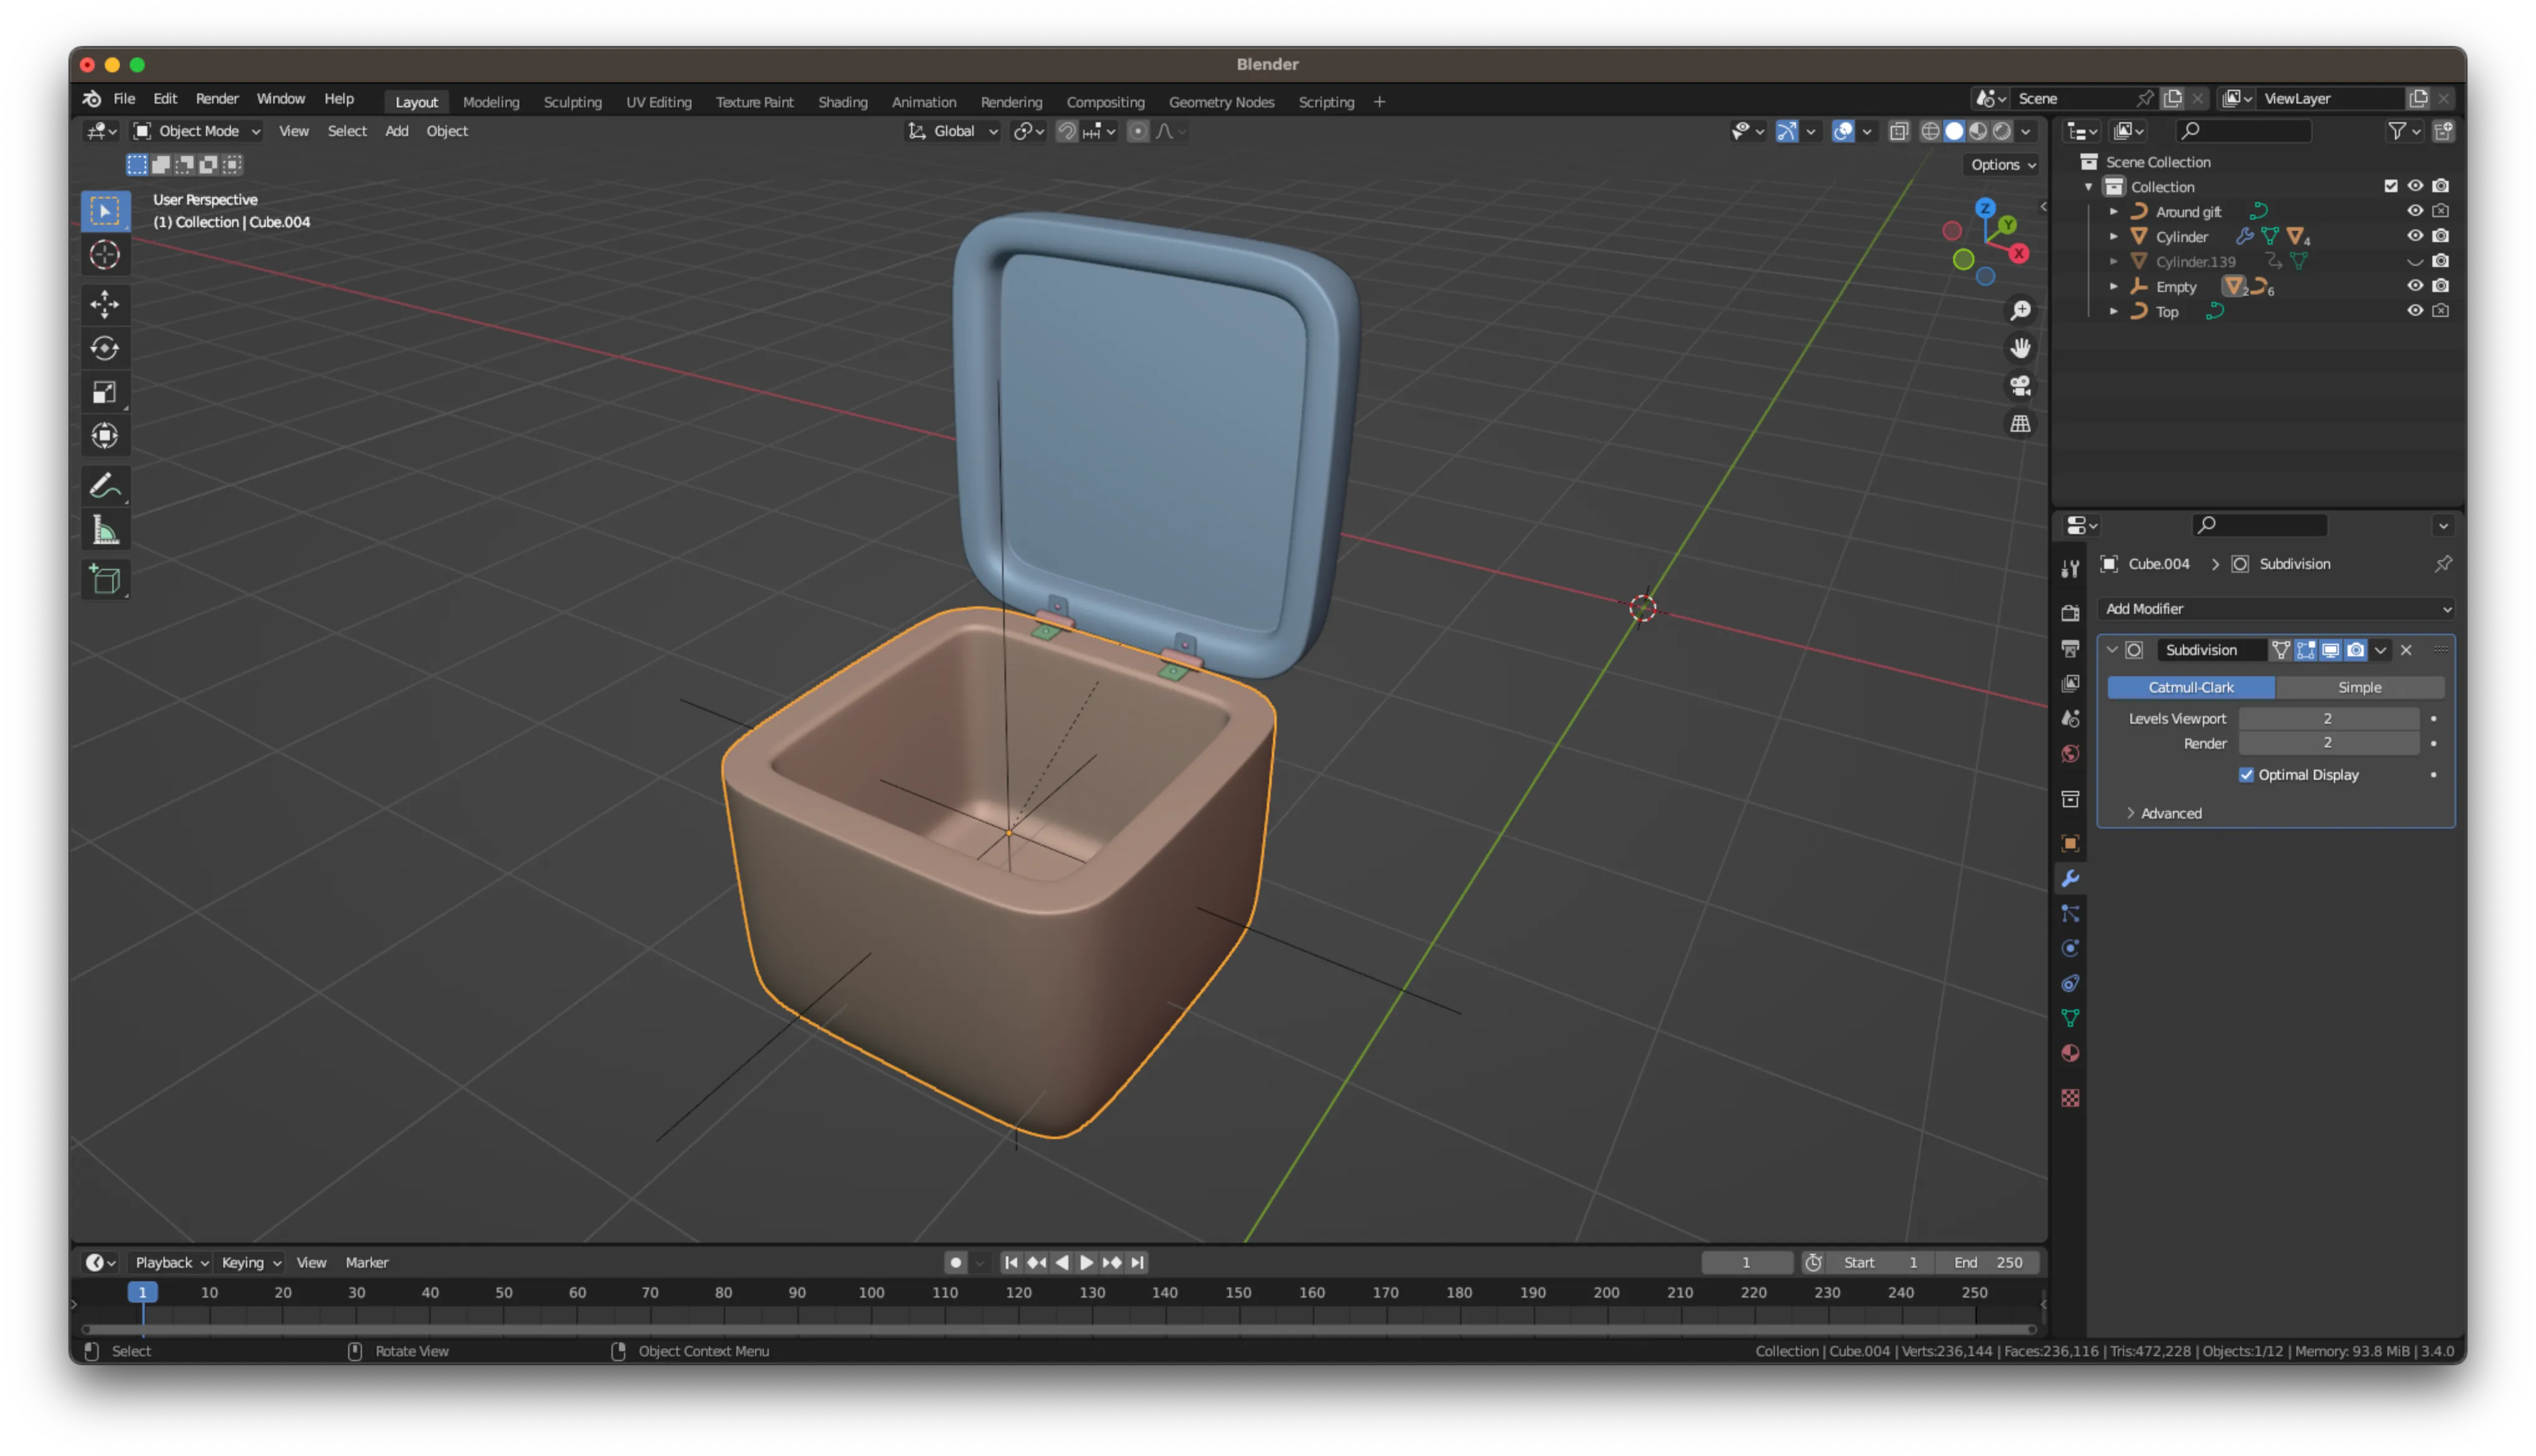
I went into edit mode, rounded up the corners, and separated the top and bottom half, so we can animate it after. From here it’s just three simple actions. Inset, Extrude, Scale.
After that, I added the hinges from simple geometry like plane and cylinder and added two levels of subdivision.
The Ribbons
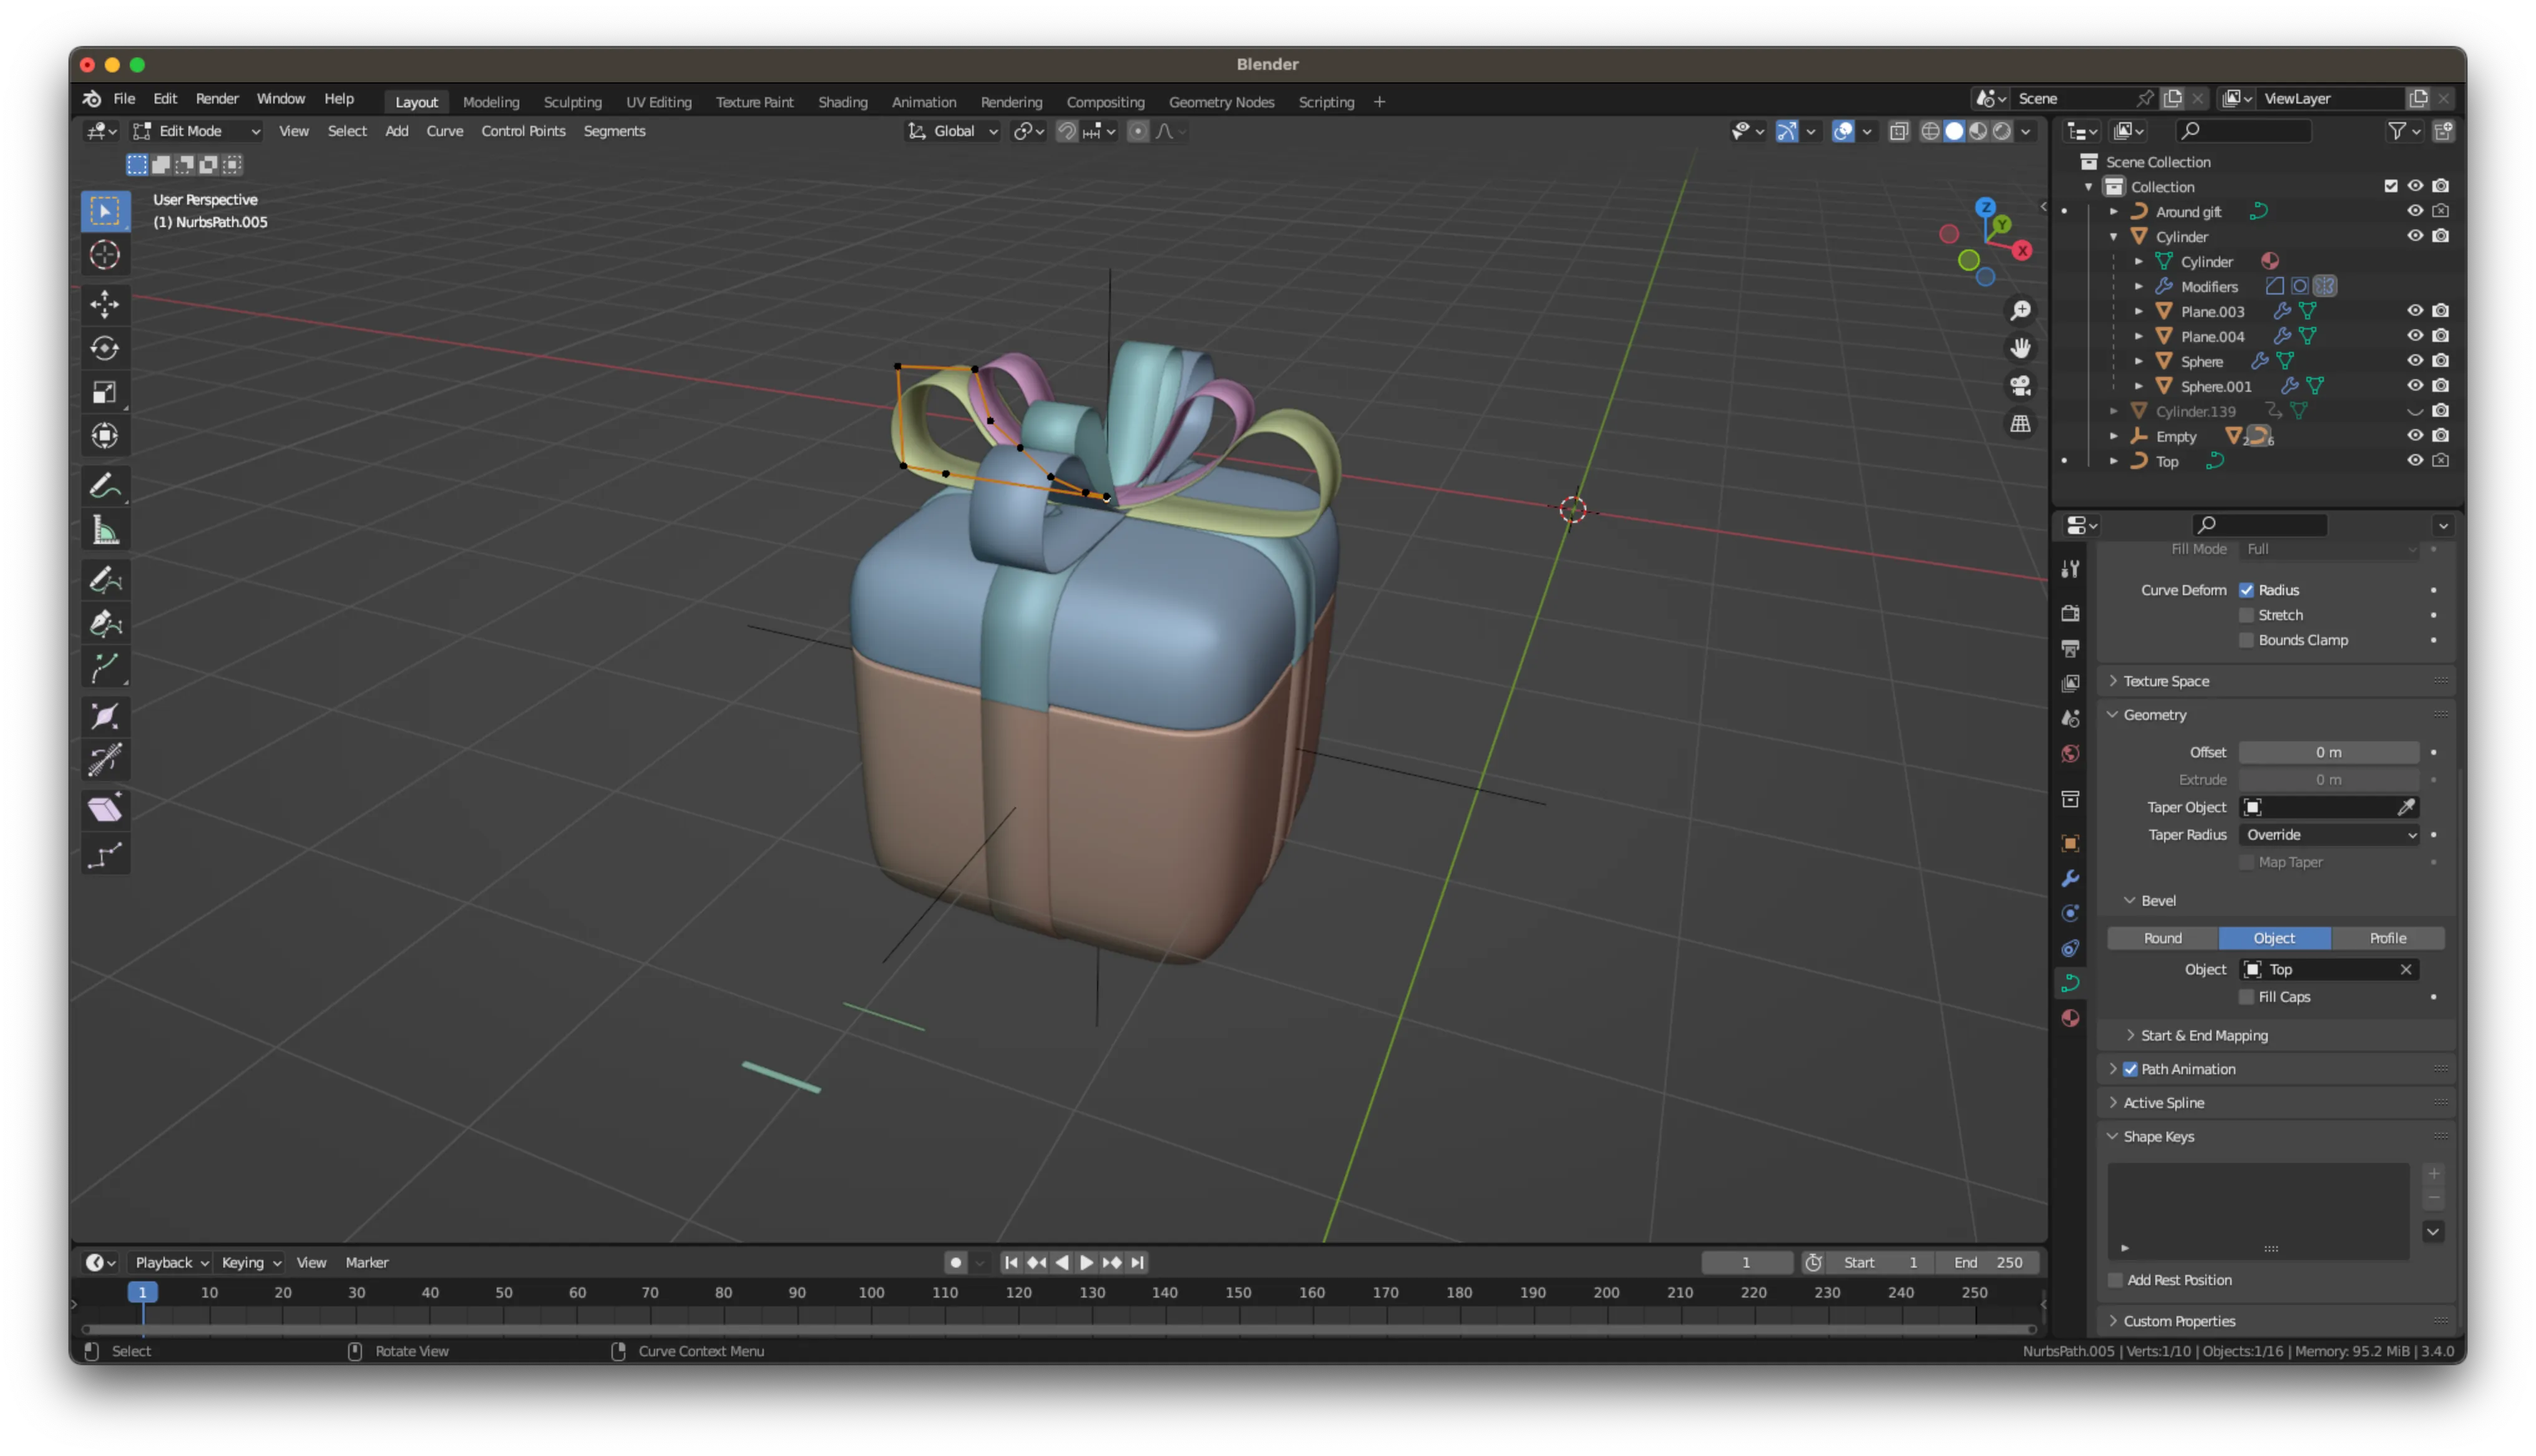
For the ribbons, I created extra loop cuts on the cube, separated them, and used the power of bezier curves in Blender to play with their look.
A small tip, you can create a plane and then apply it as a bevel object to the curve, so you can have the ribbon any shape you want.
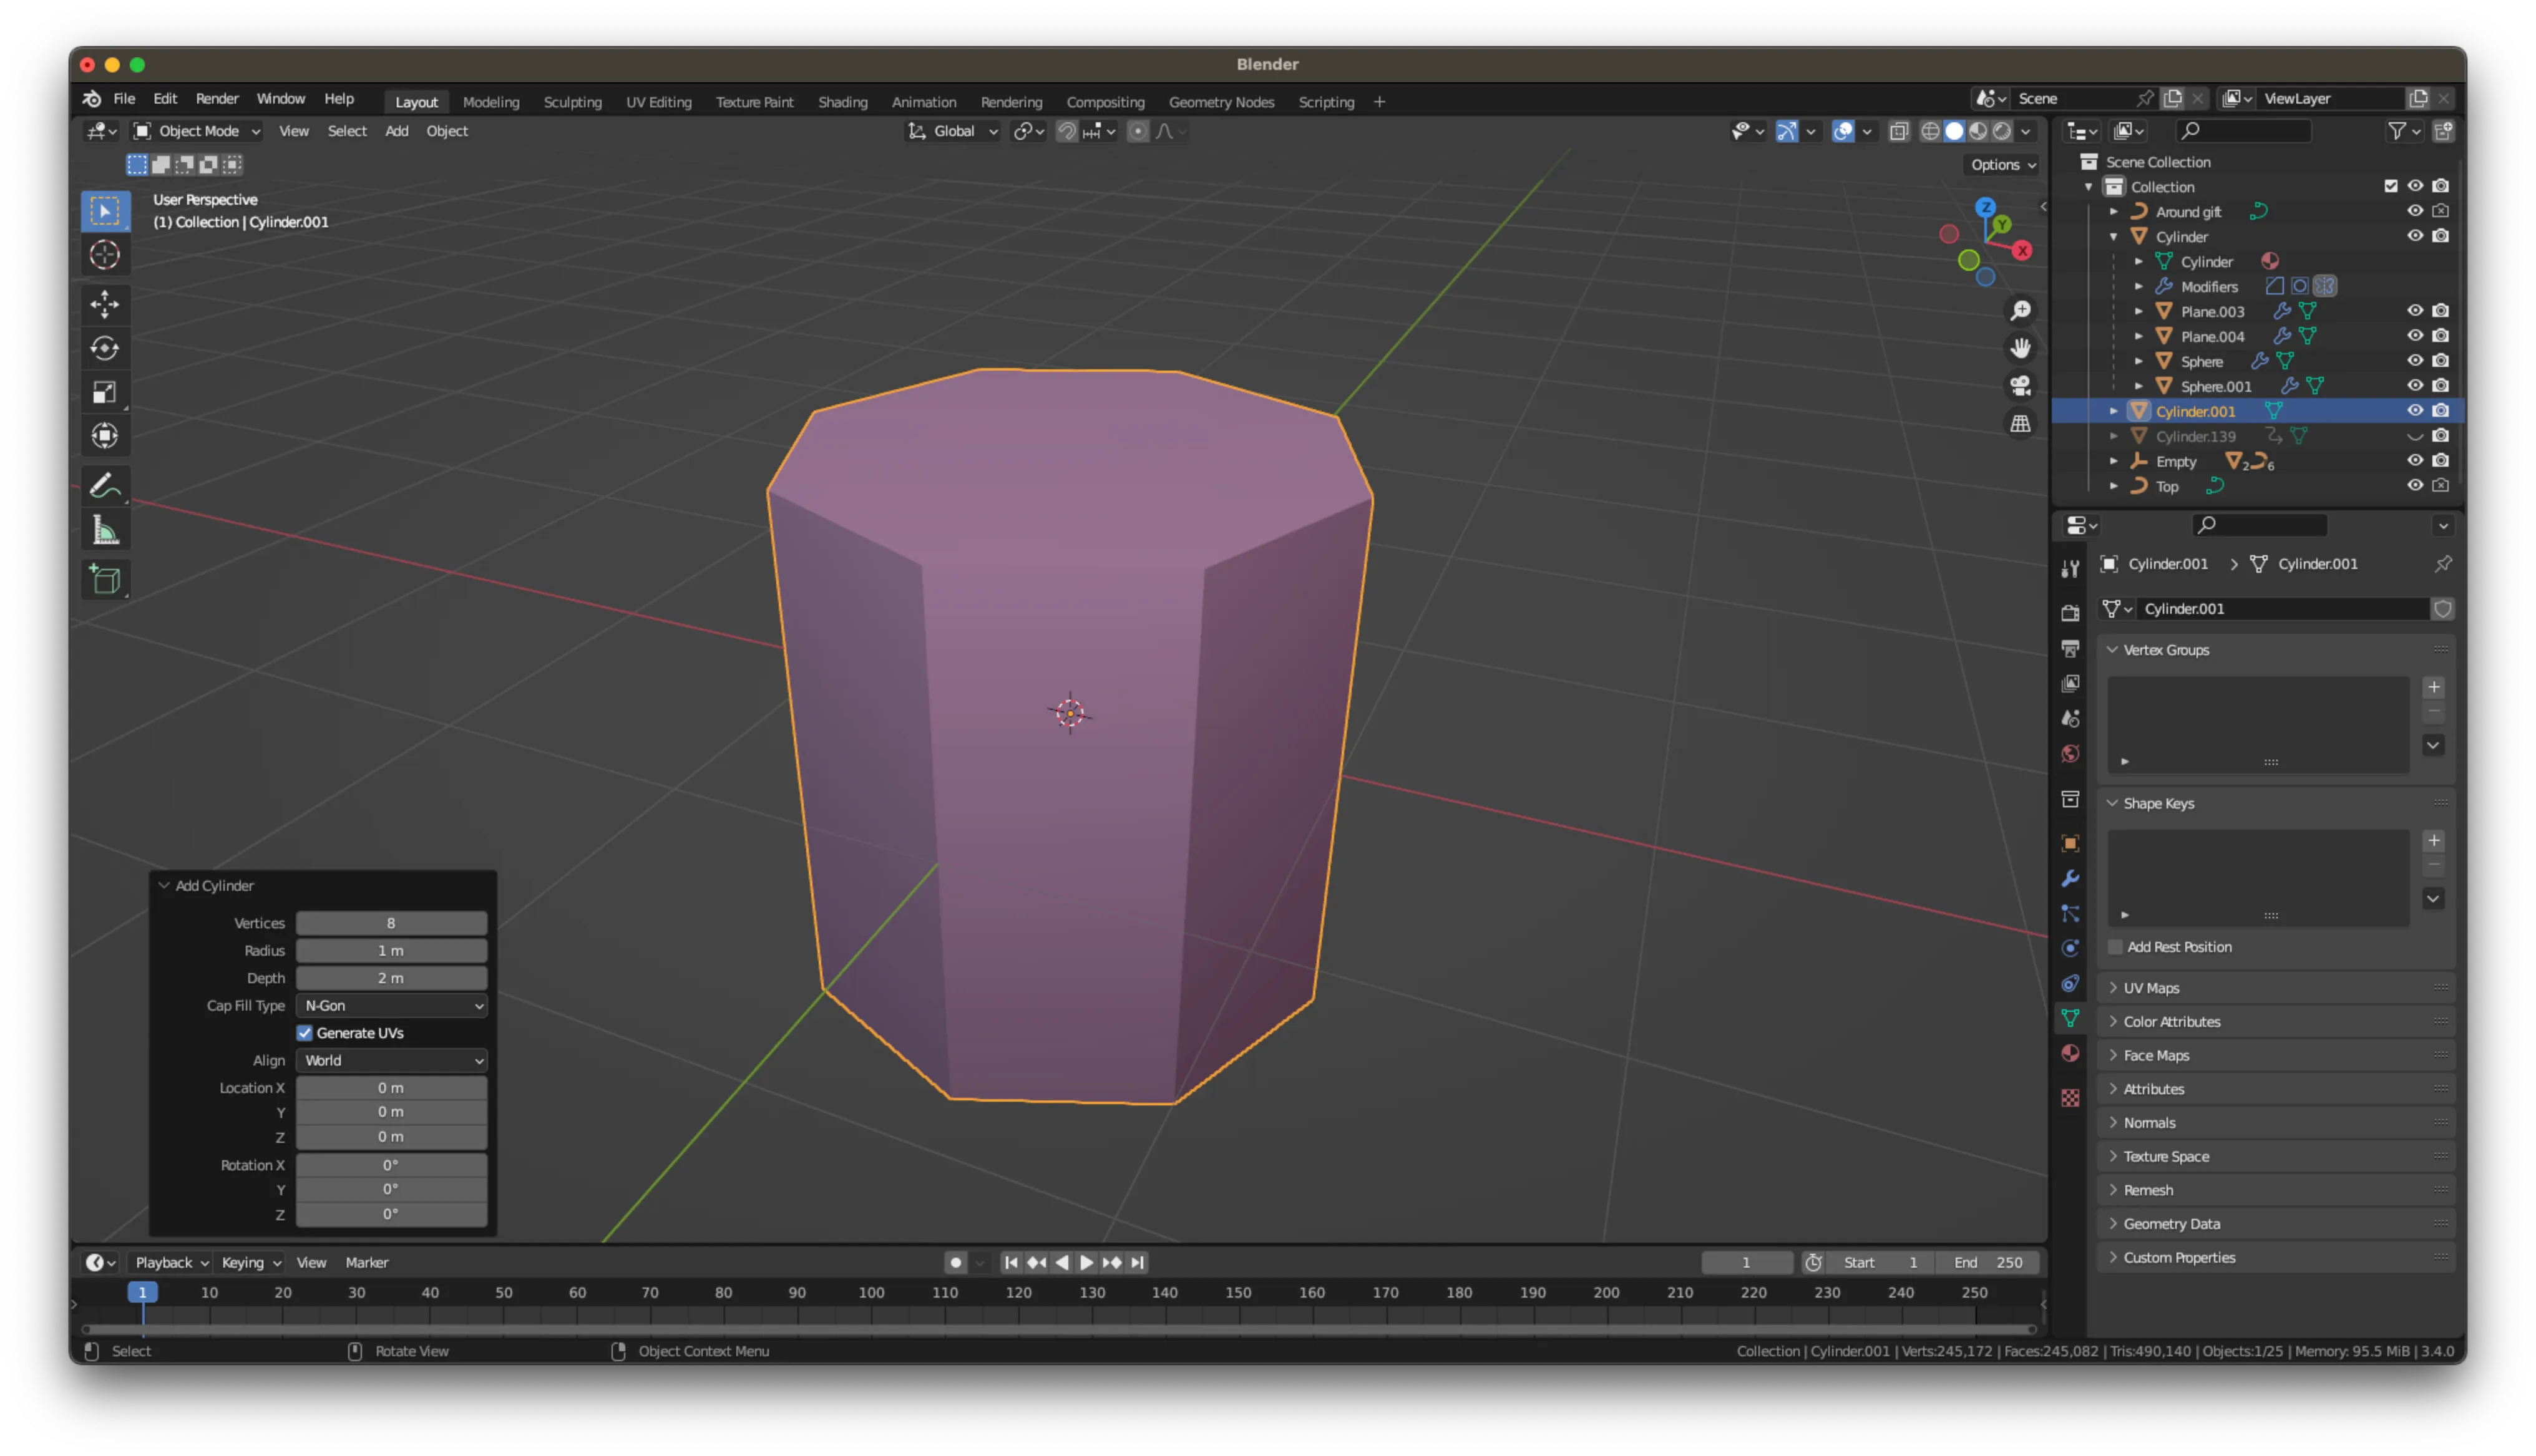
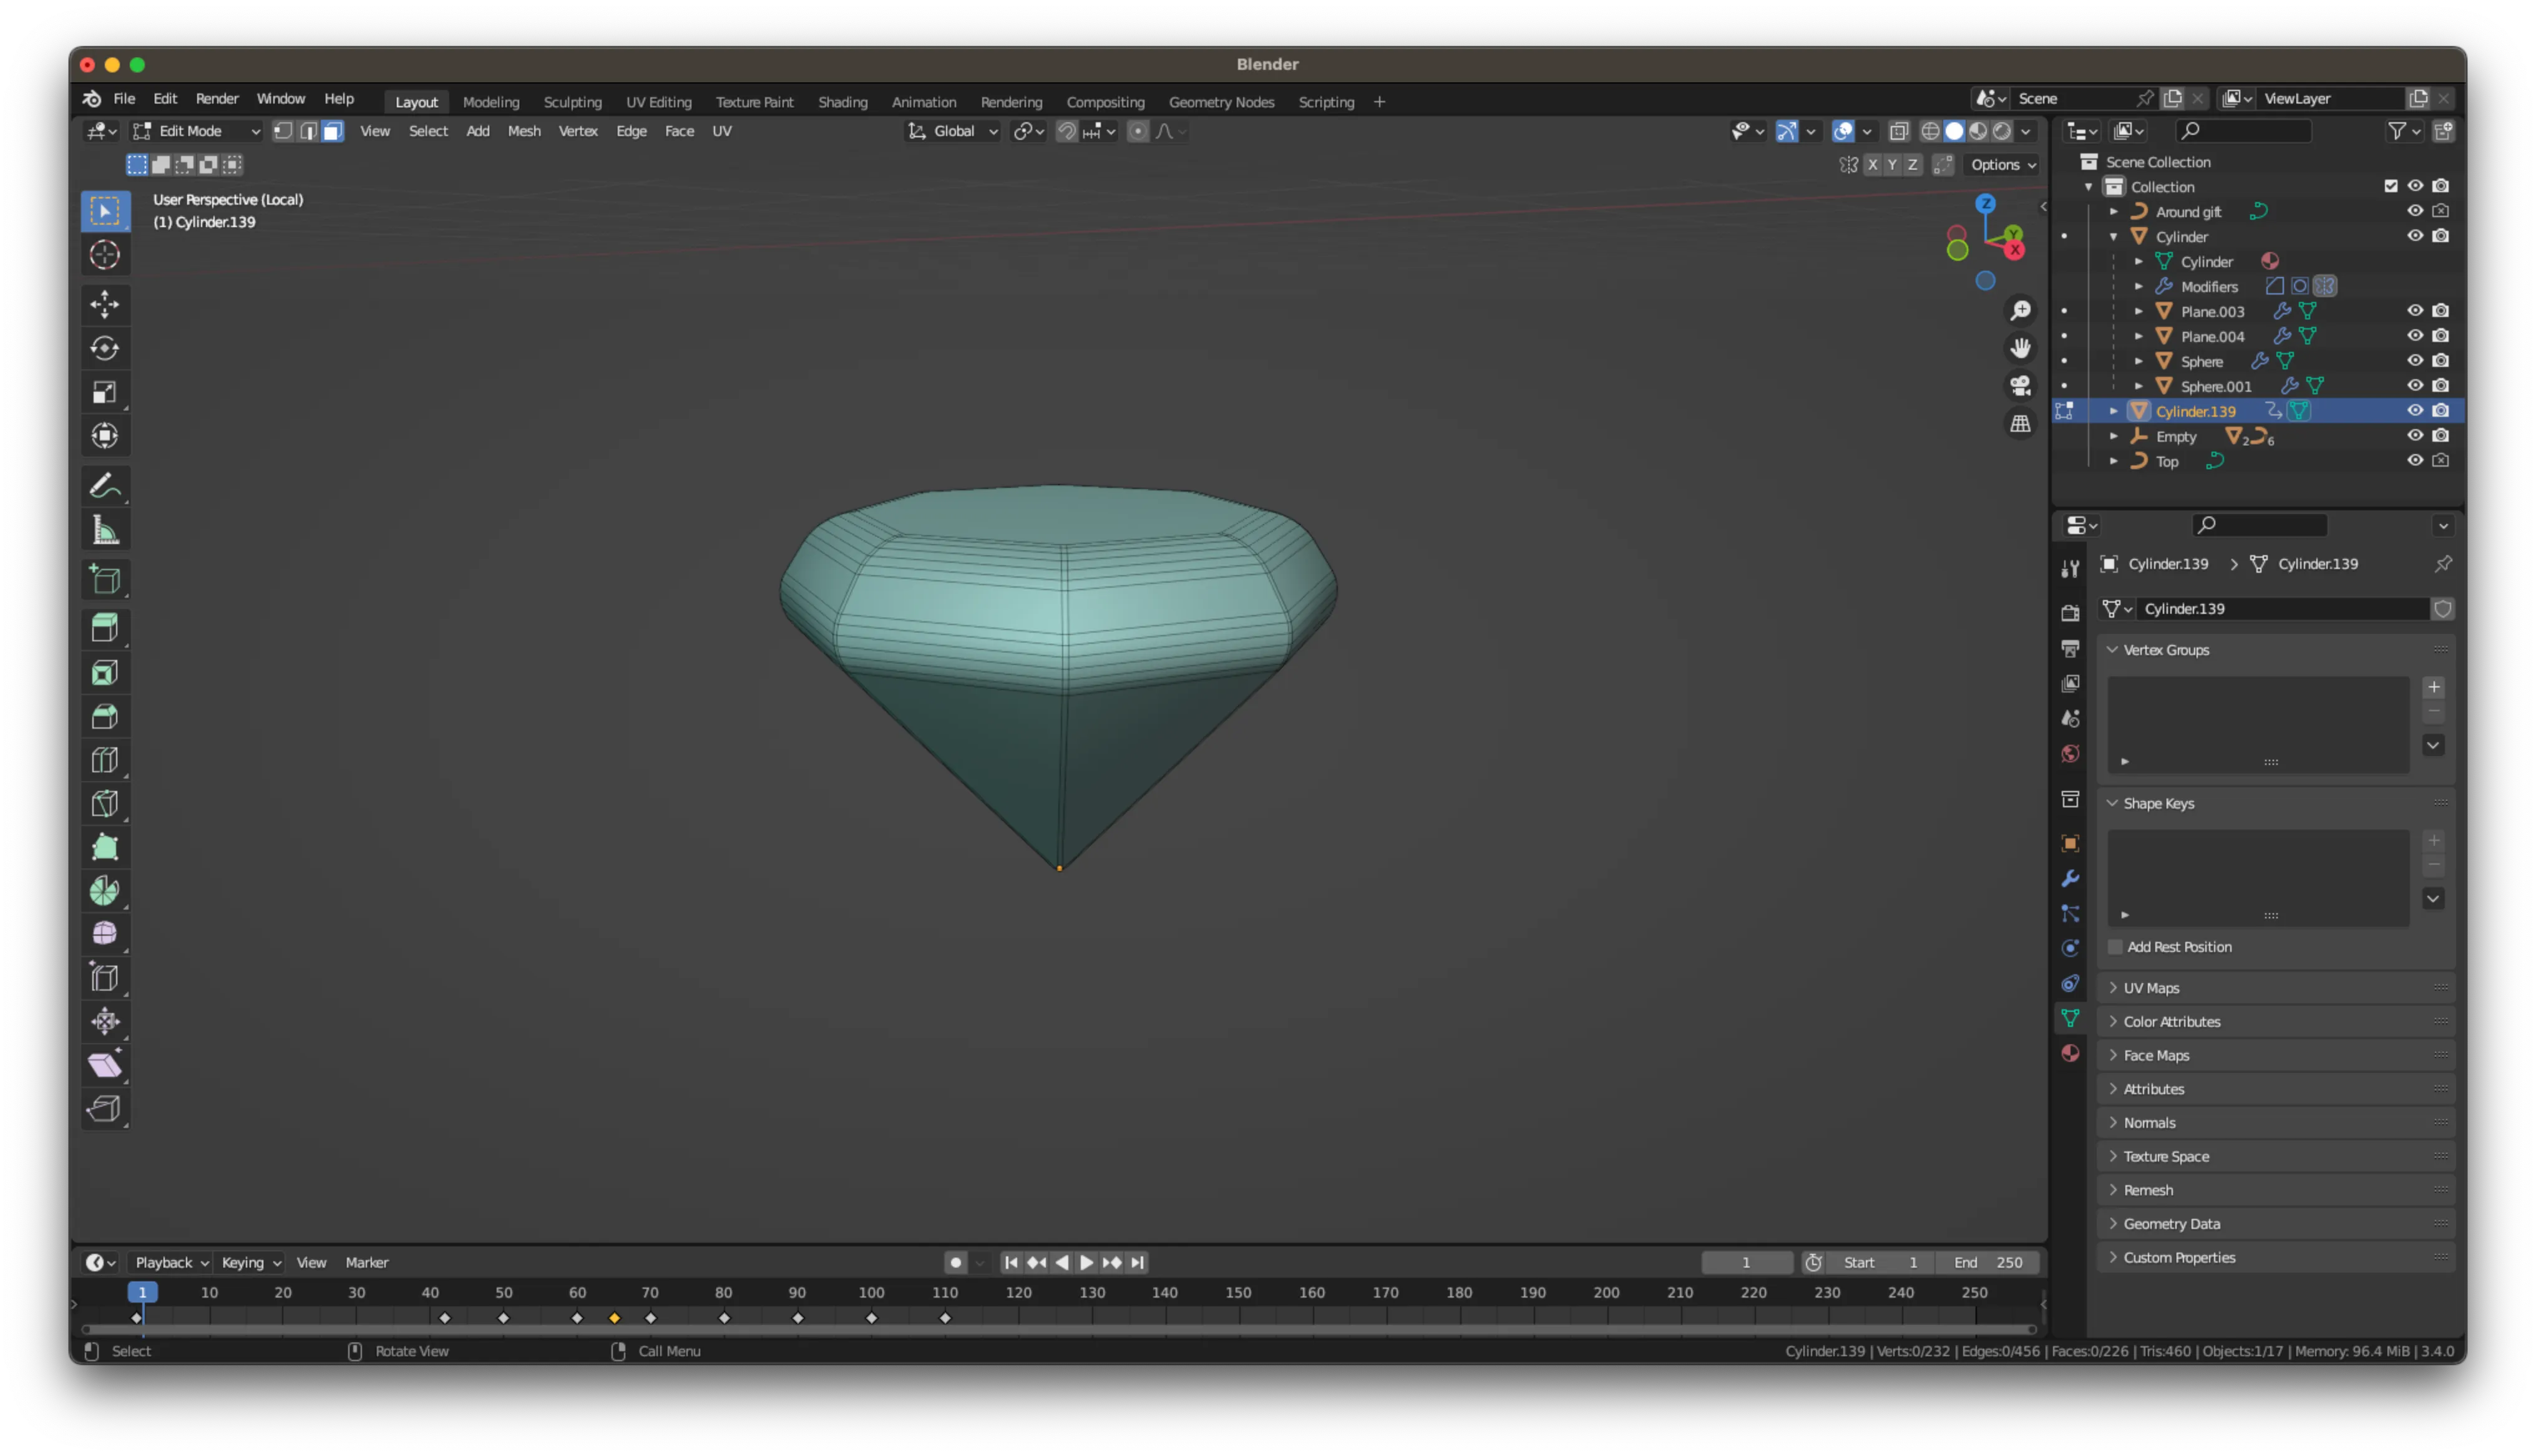
Adding the diamond is pretty simple, it’s just a cylinder, with vertices reduced to 8, then you merge the bottom verts and now it’s again the matter of Extrude, Scale all over again.
The hardest part, LIGHTING.
You play with it a lot, test a lot of things and it still may not be as good as you want it to be. You can tweak it for hours, literally.
In fact, this is the area I struggle with and spend a lot of time with, but who doesn’t right?
I ended up with one sunlight and two area lights.
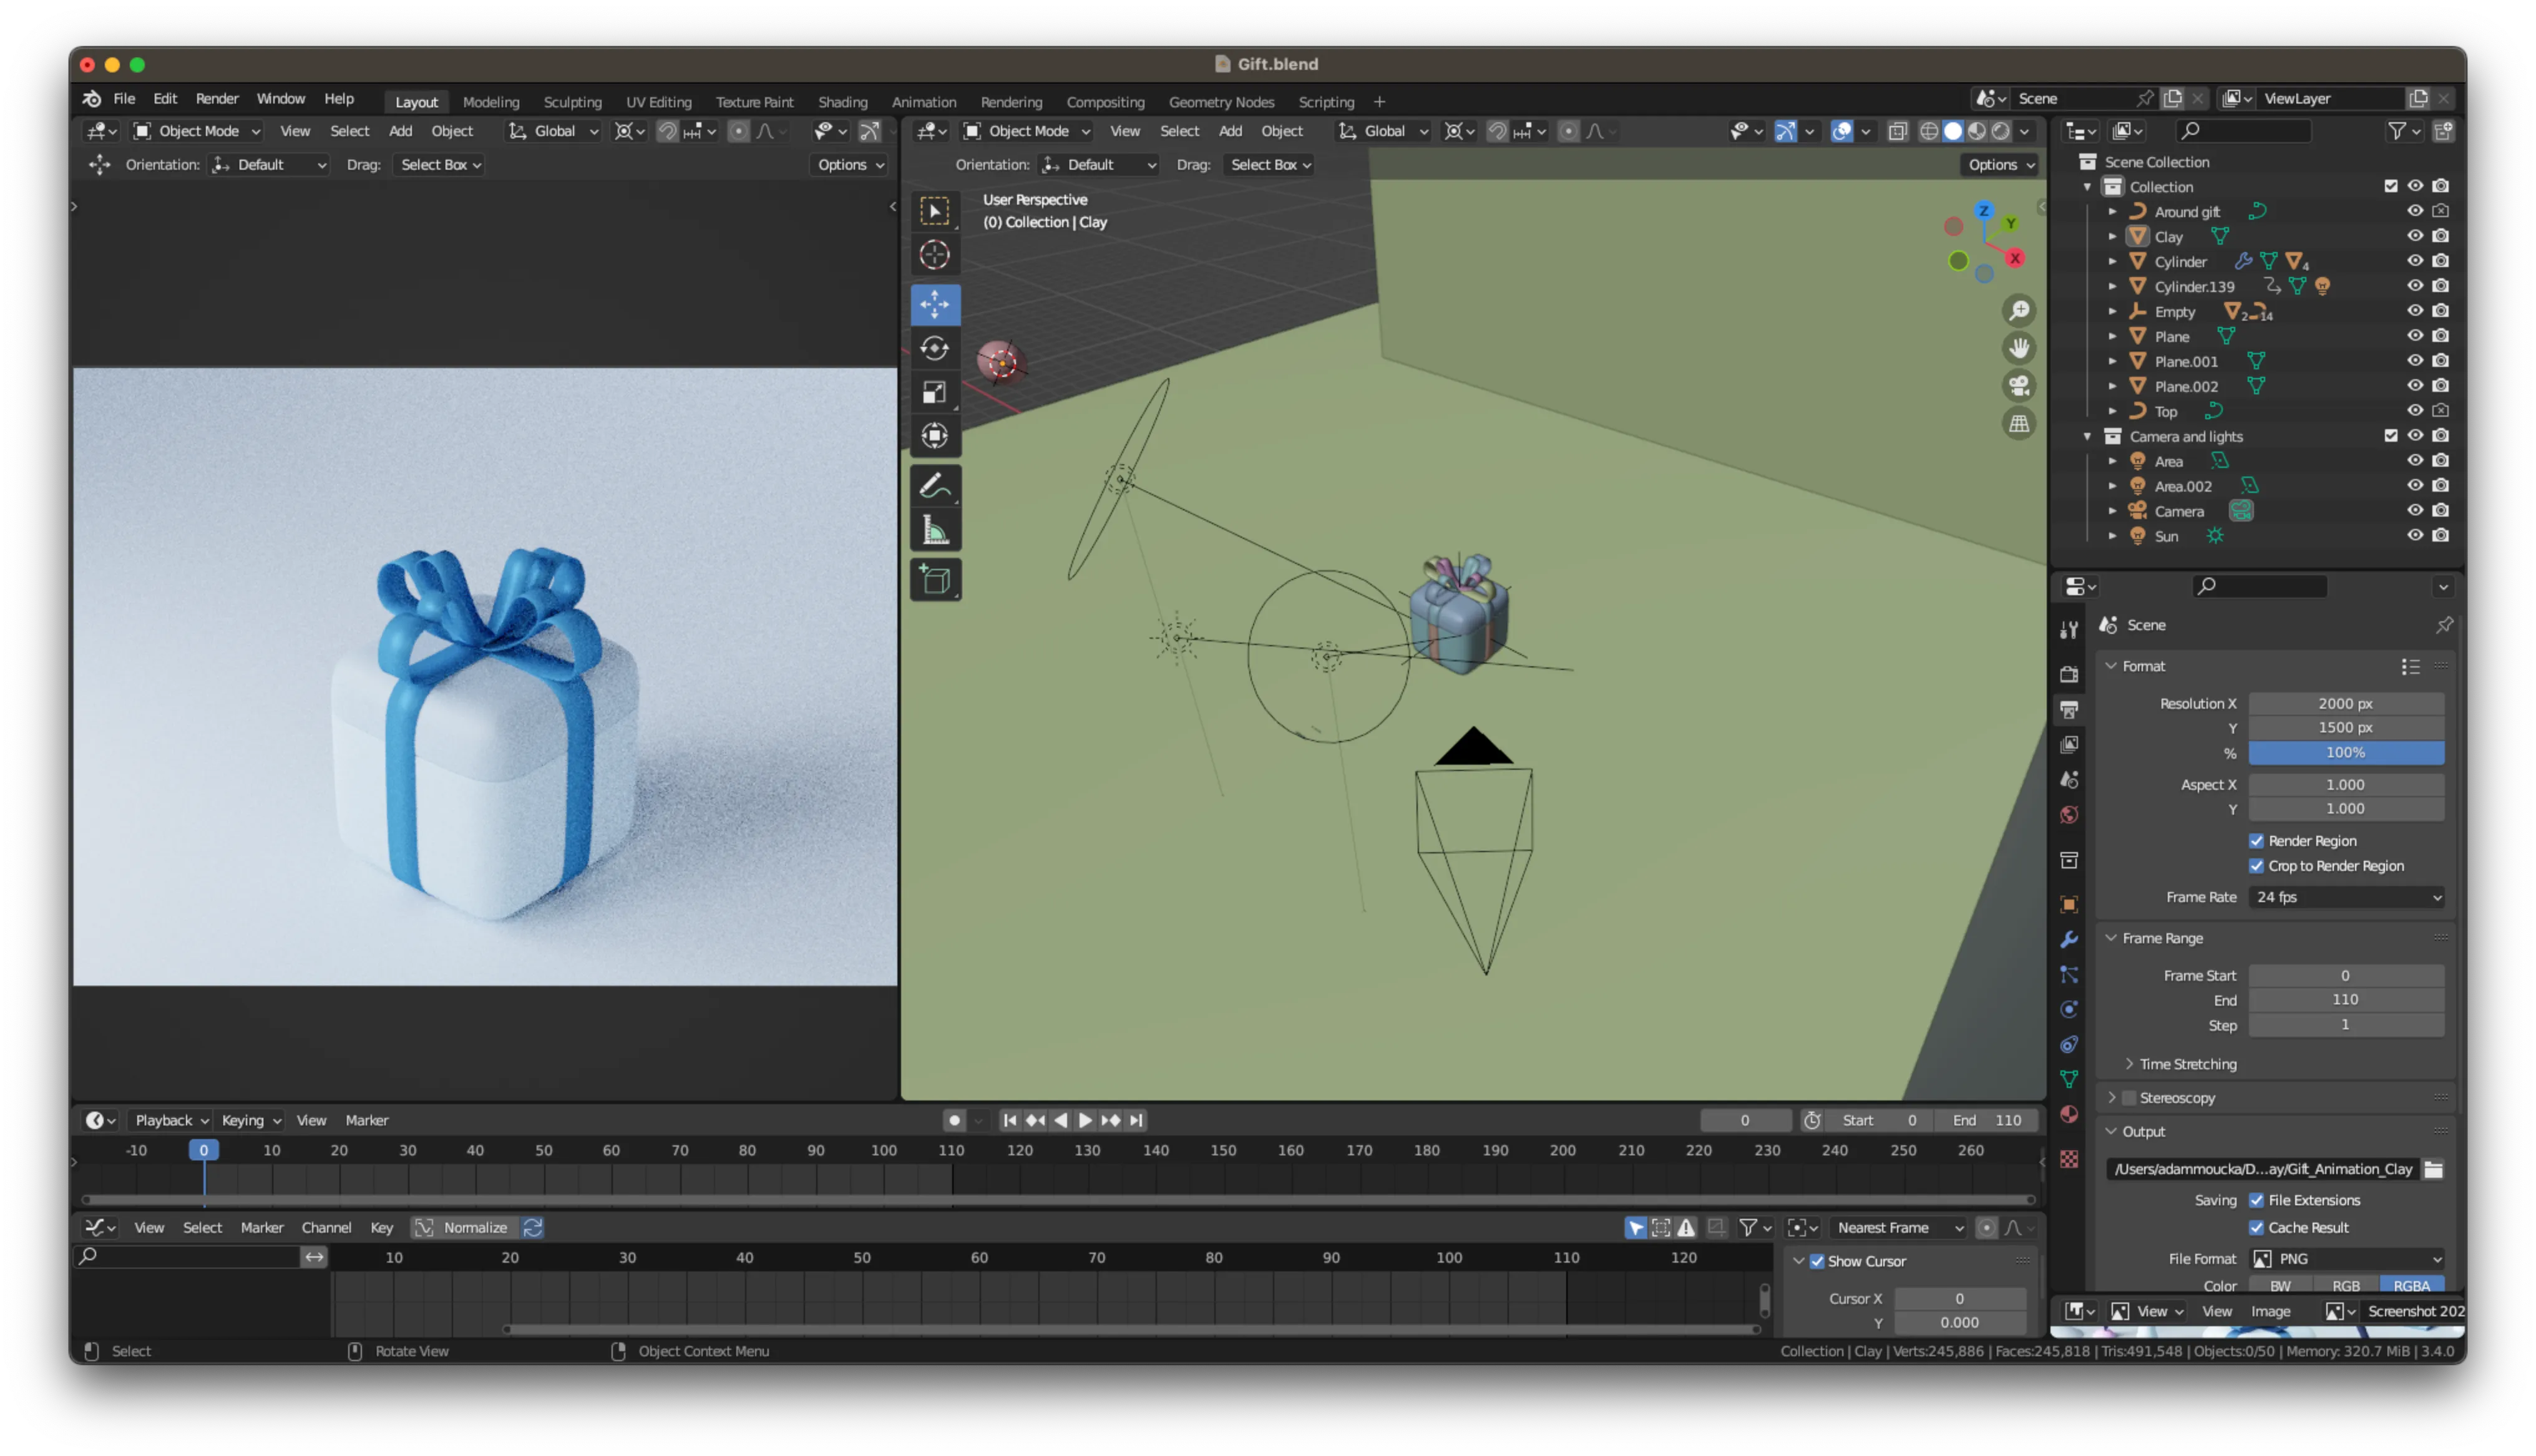
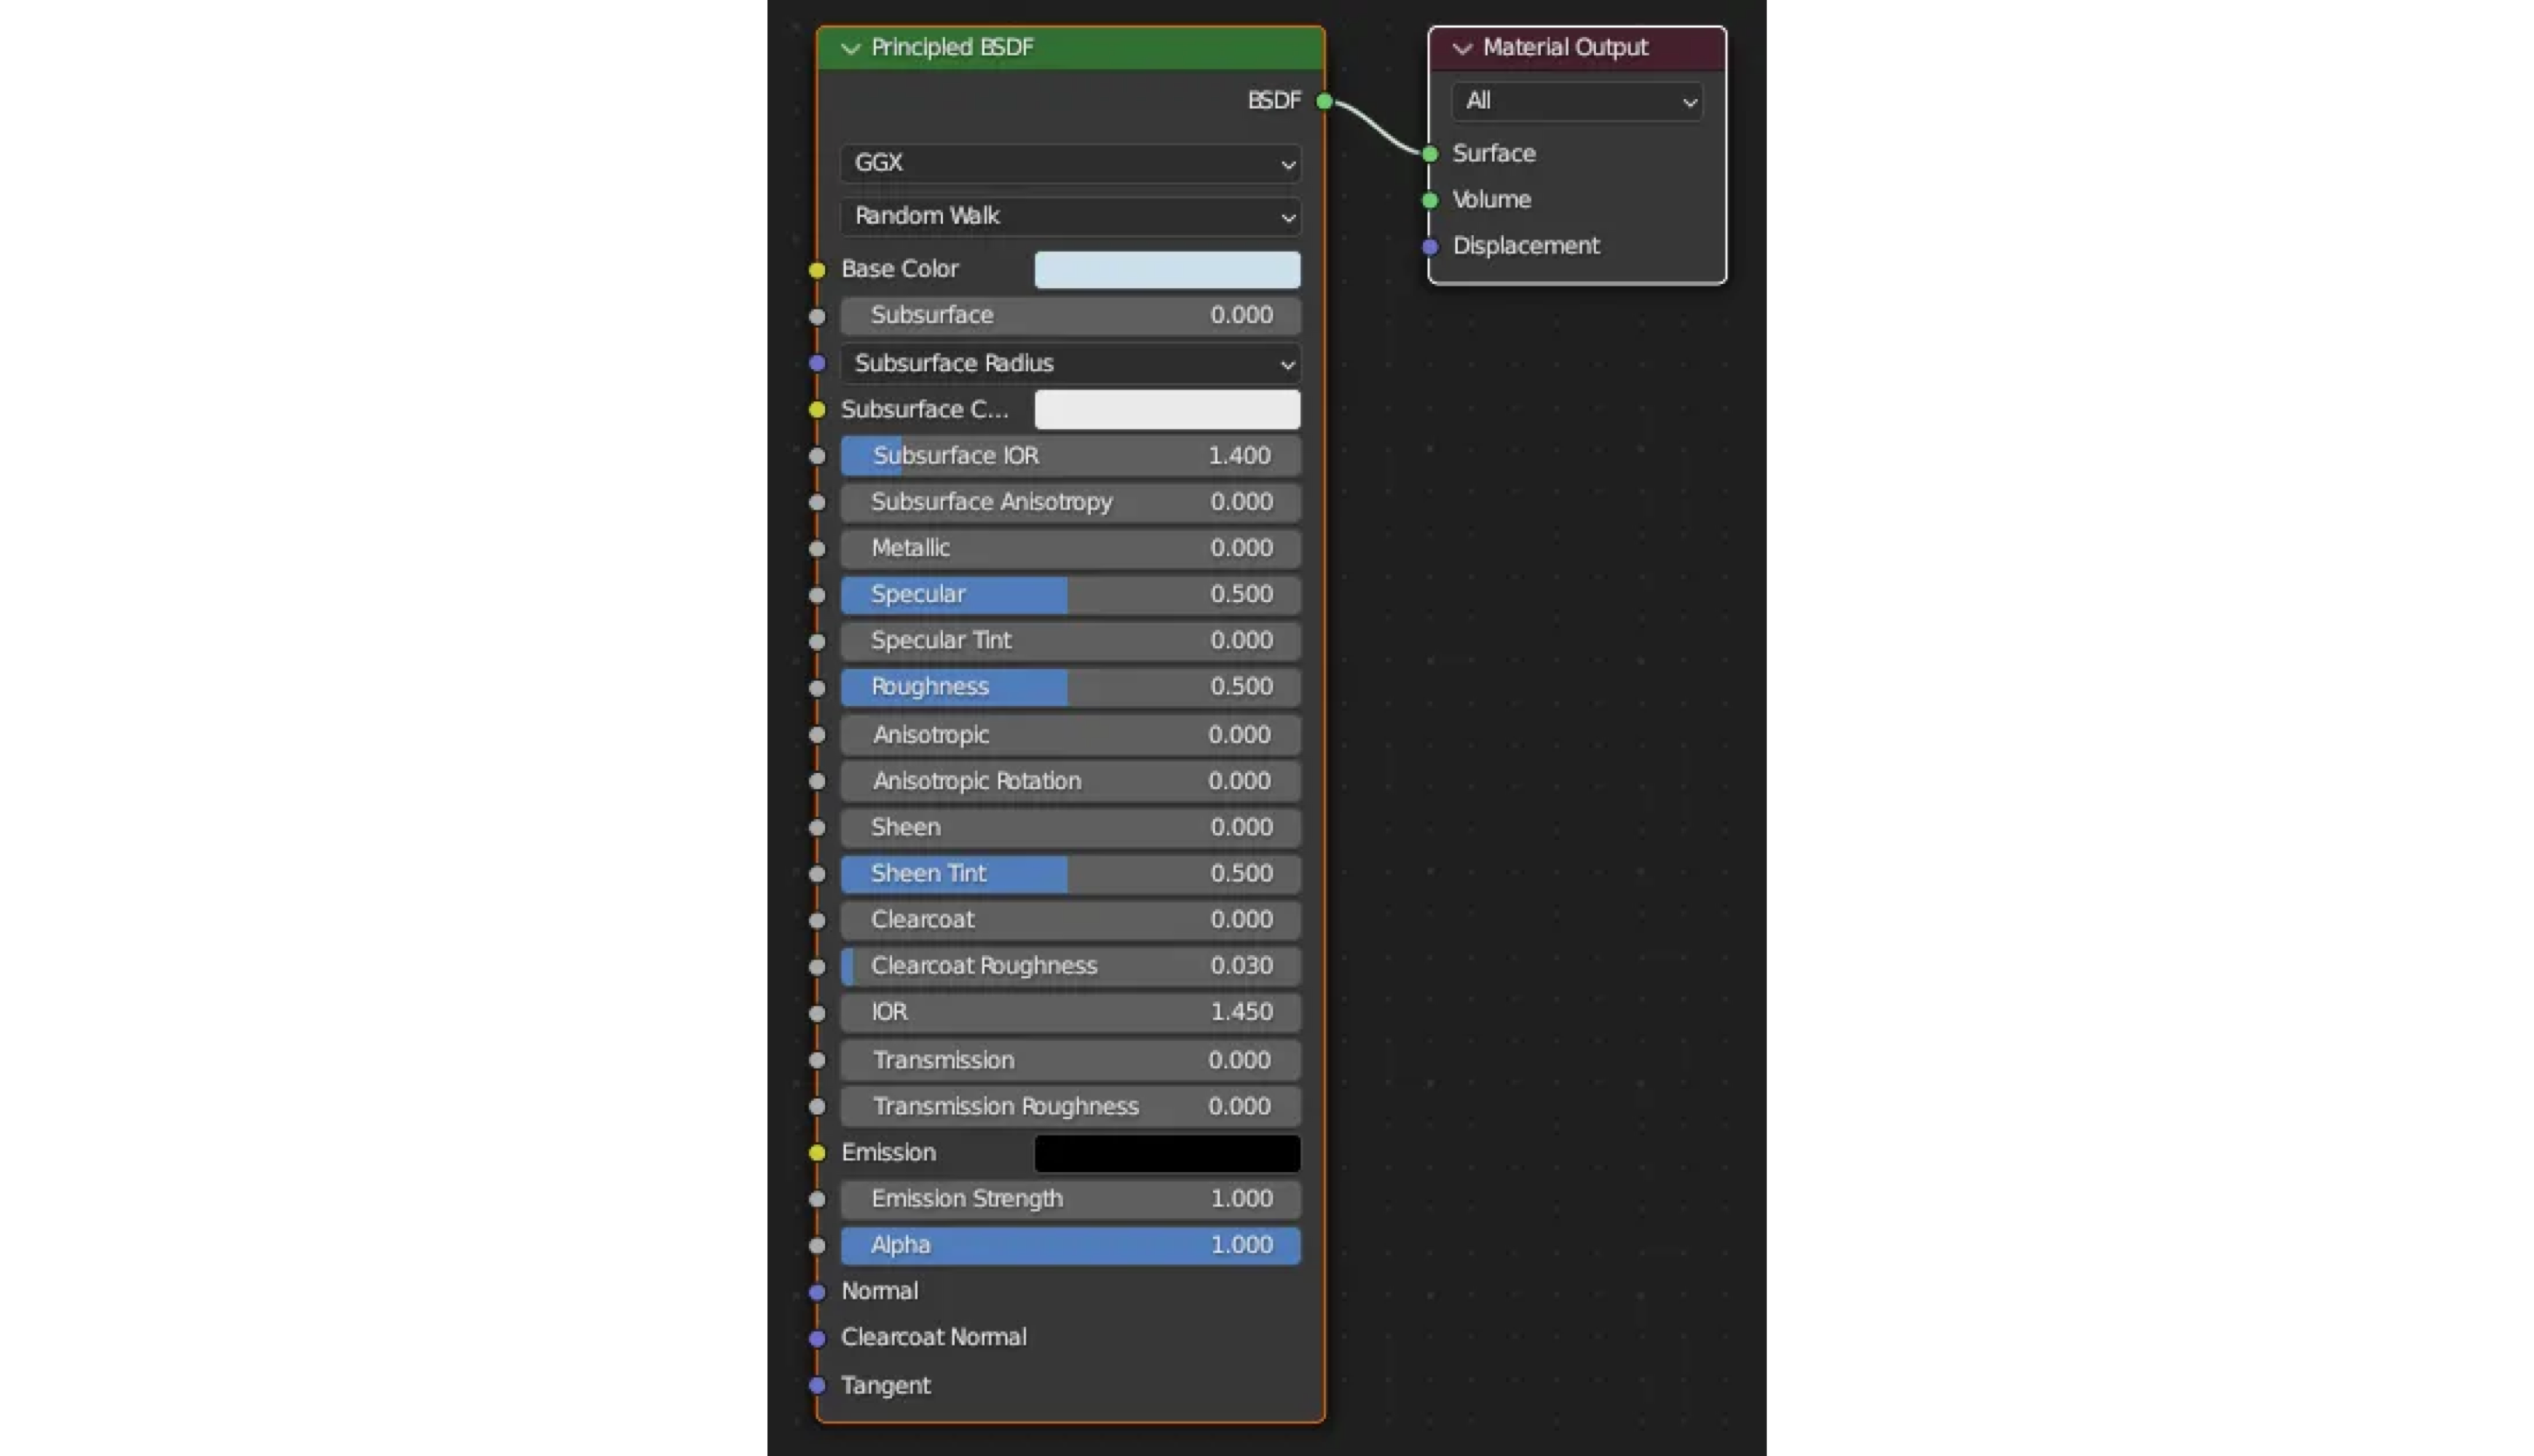
The materials are super easy, nothing fancy going on here. I went with a monochromatic blue color palette.
Animation time!
This part took me the most time. I’m still learning, so there’s a lot of experimenting, moving keyframes left and right, and a lot of playing and stopping the animation, to see if it feels right.
The important thing is to take it step by step.
For the little bounce when the gift opens, you can use a dynamic effect by pressing T while in the timeline. I used bounce and played with the amplitude until I liked it.
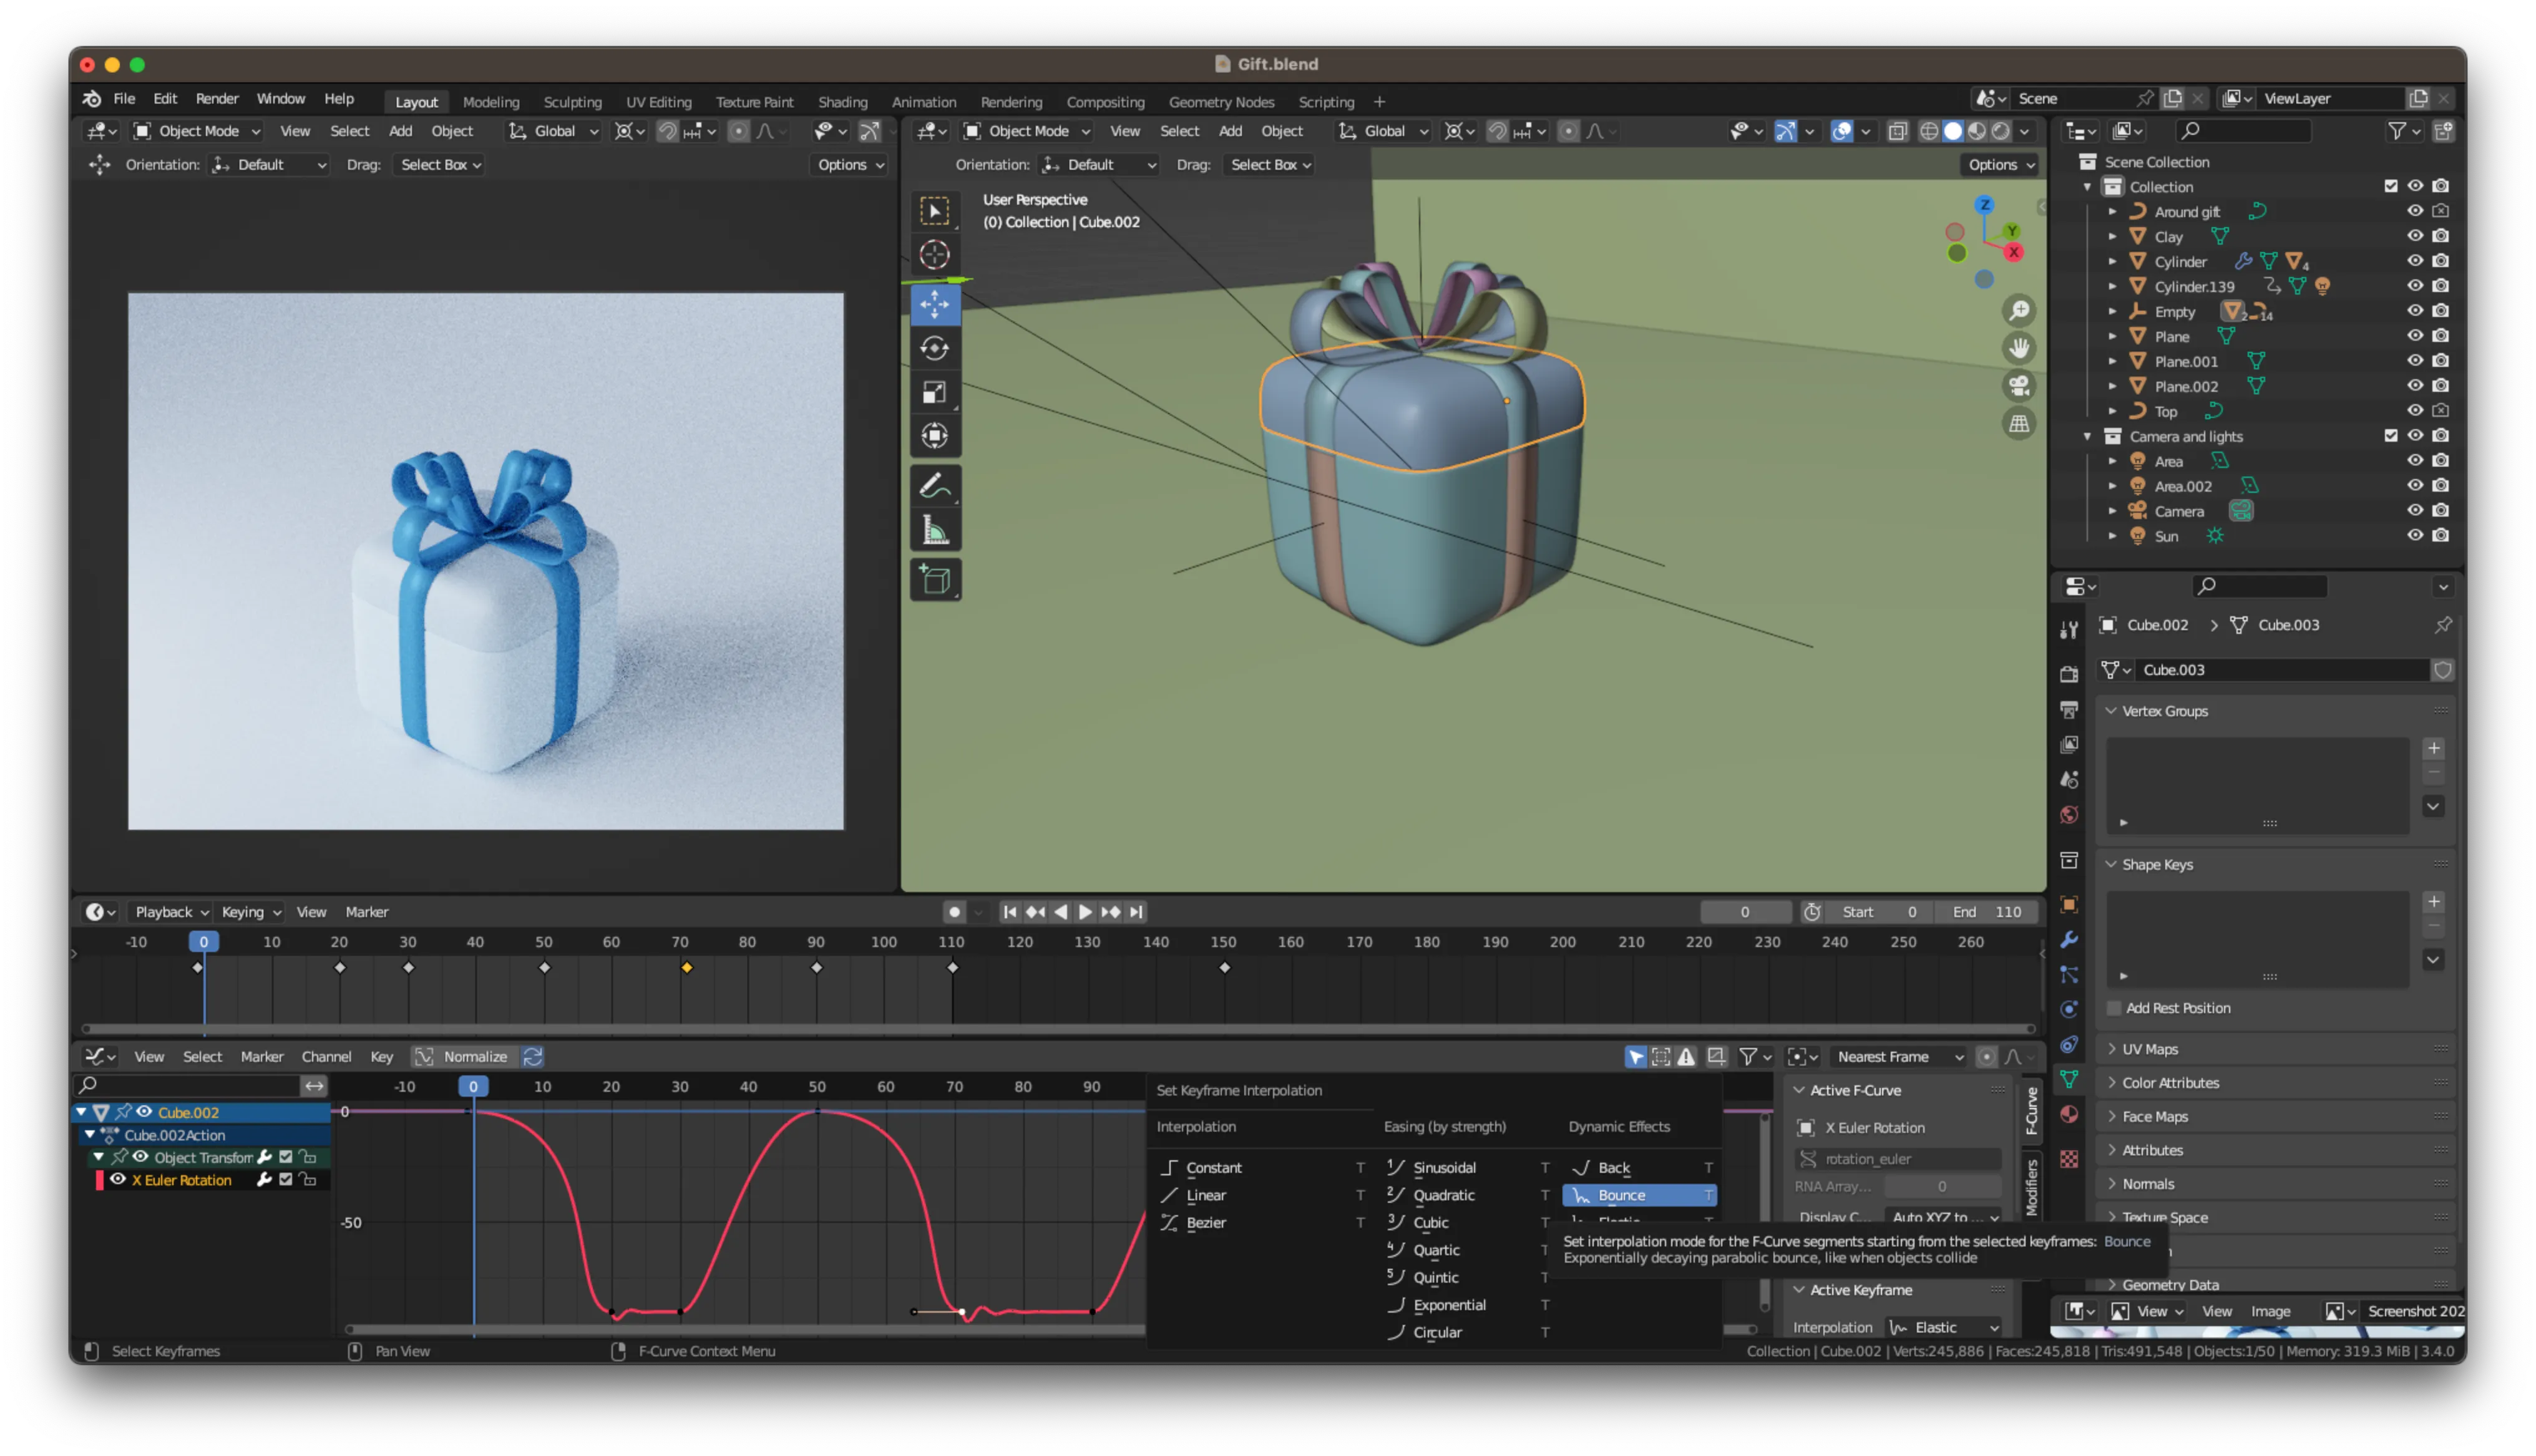
Psst… before you render this, don’t forget to animate the hinges like me…
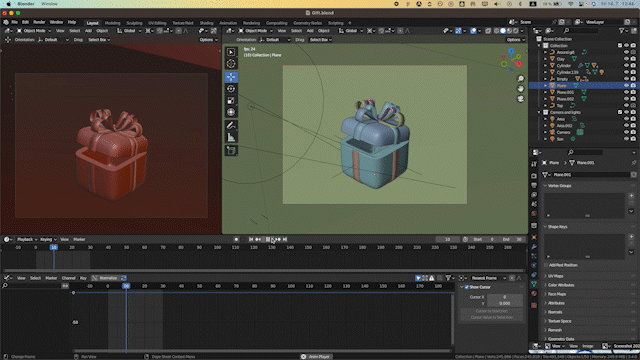
Render at last!
You can render the animation in whatever format you want, I recommend a video, png sequence, or .exr I went with .exr myself since I used another software for stitching the animation.

That’s it we did it!
Hope you enjoyed today’s episode. I’ll see you in a week, and don’t forget to stay awesome!